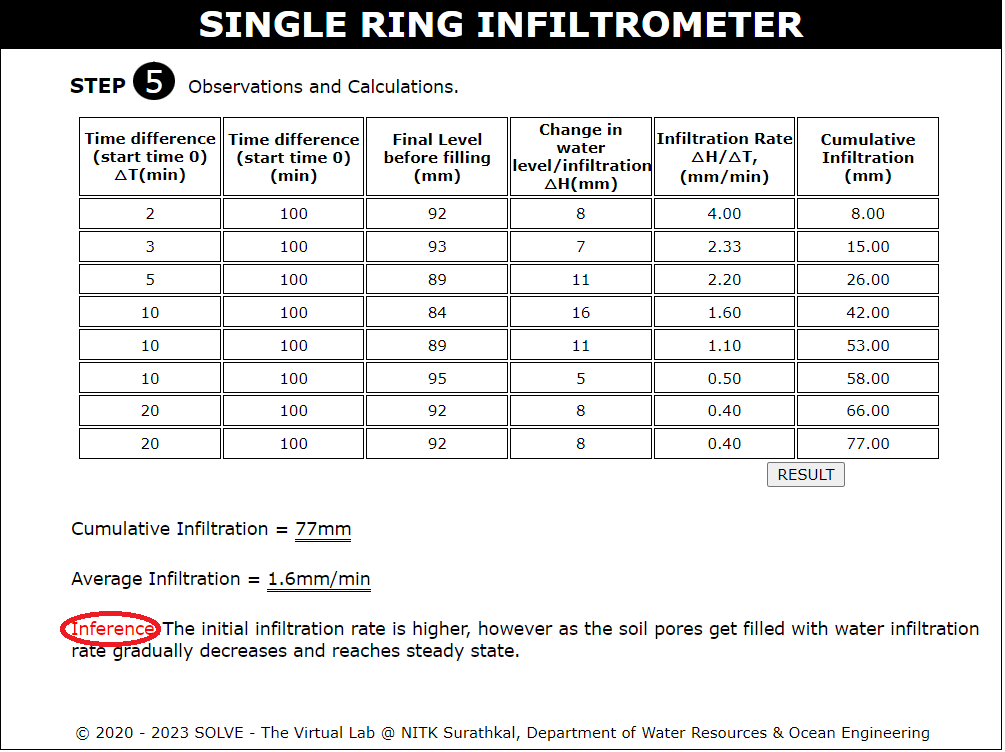
Infiltration test using simple (tube type) infiltrometer
Procedure
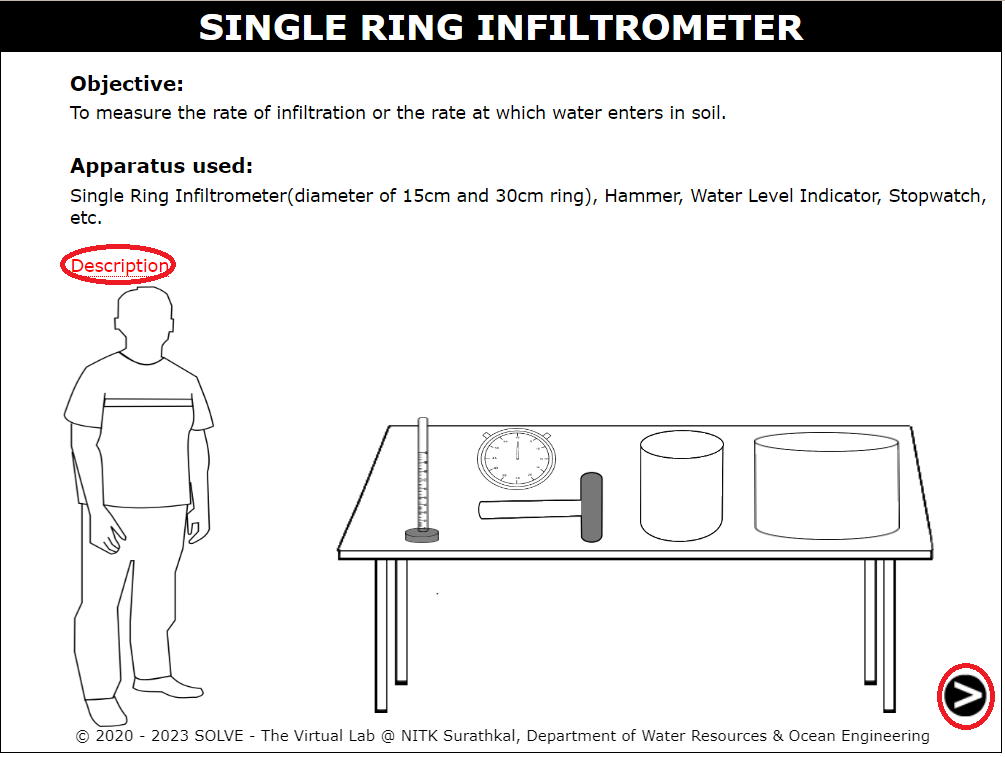
Open the Single Ring Infiltrometer Test and hover over the description to read it. Click on the arrow at the bottom-right corner to proceed to the next step.
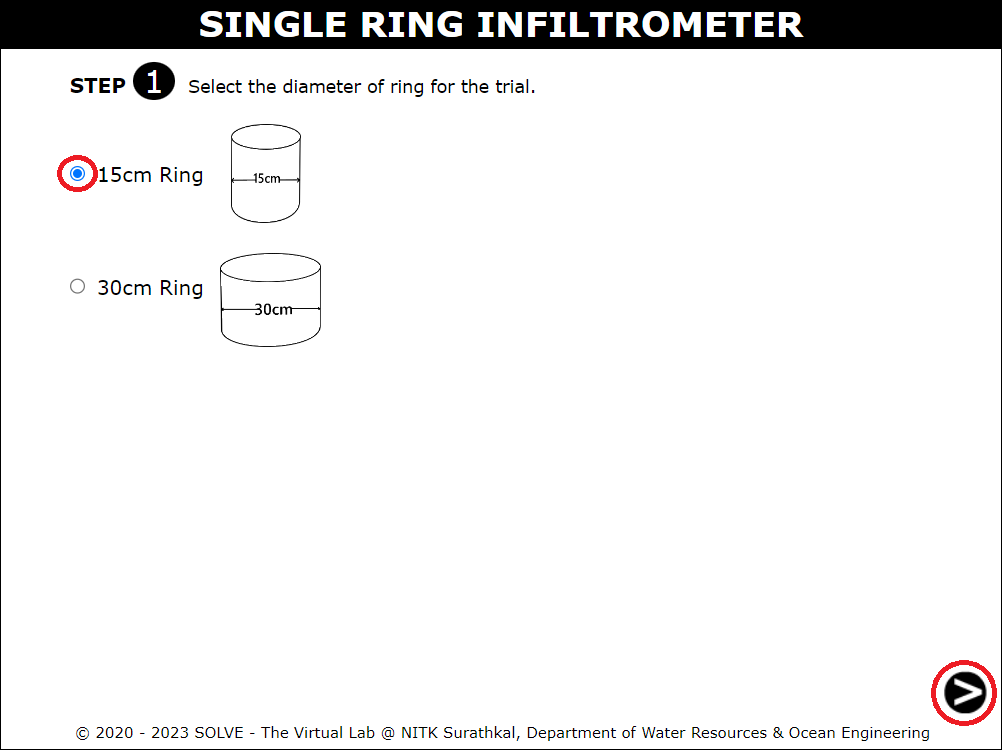
Select one of the available ring size options and click the arrow at the bottom-right corner to continue.
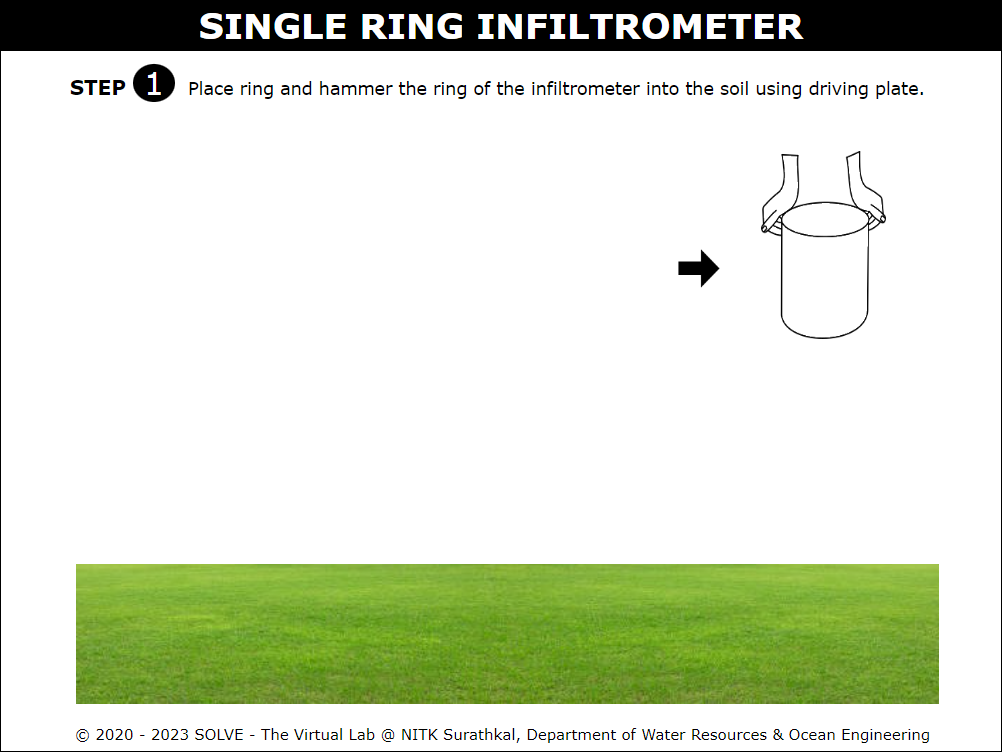
Click on the cylindrical ring to place it on the ground.
Click on the driving plate to place it over the ring.
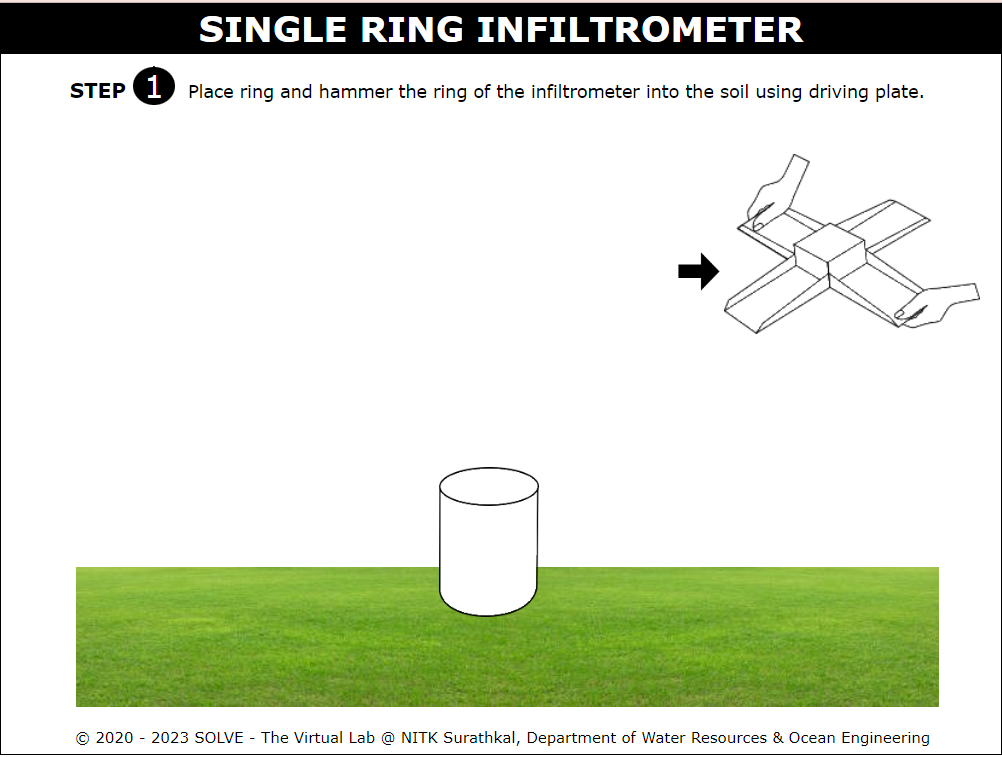
Click on the hand icon to hammer the ring into the soil using the driving plate.
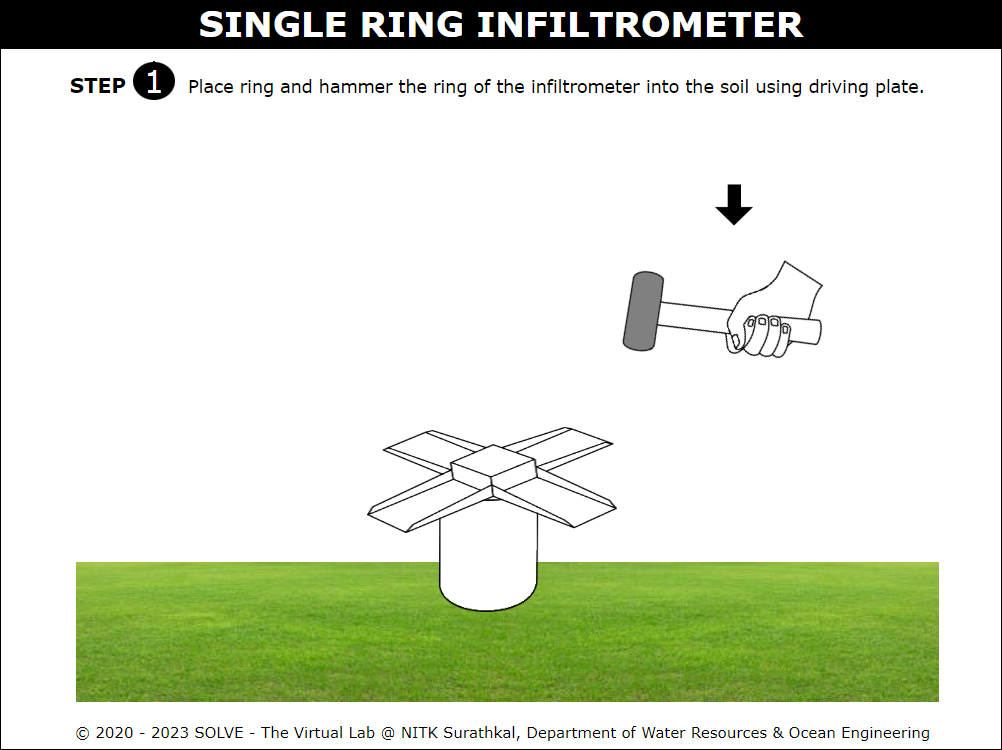
Click on the driving plate to remove it from the top of the ring.
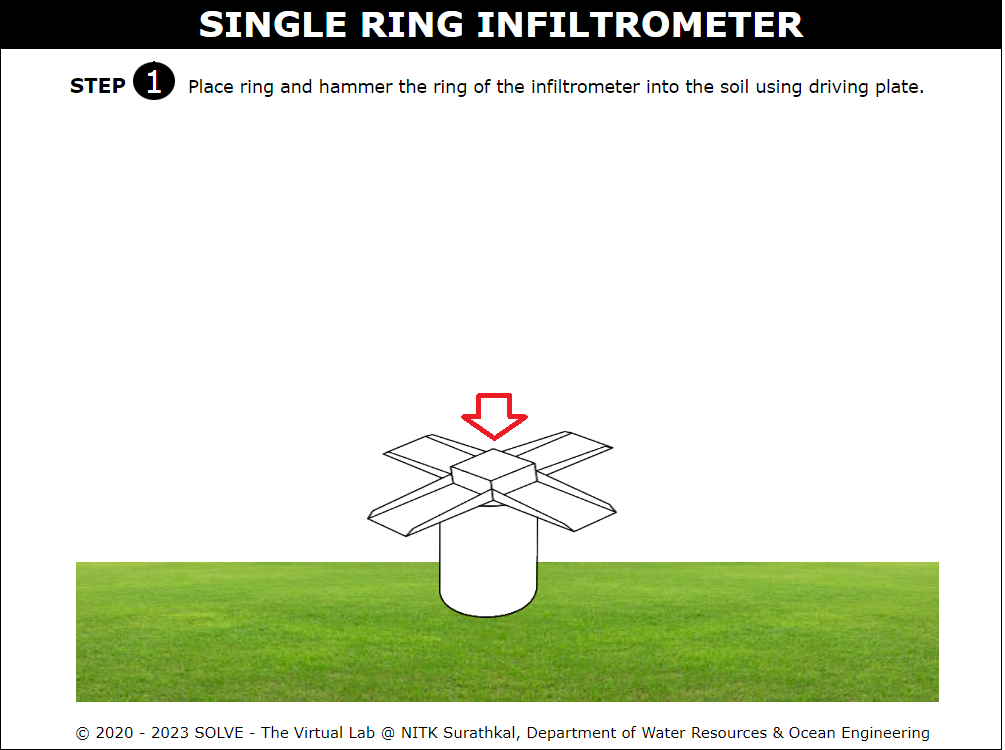
Click on the arrow at the bottom-right corner to proceed to the next step.
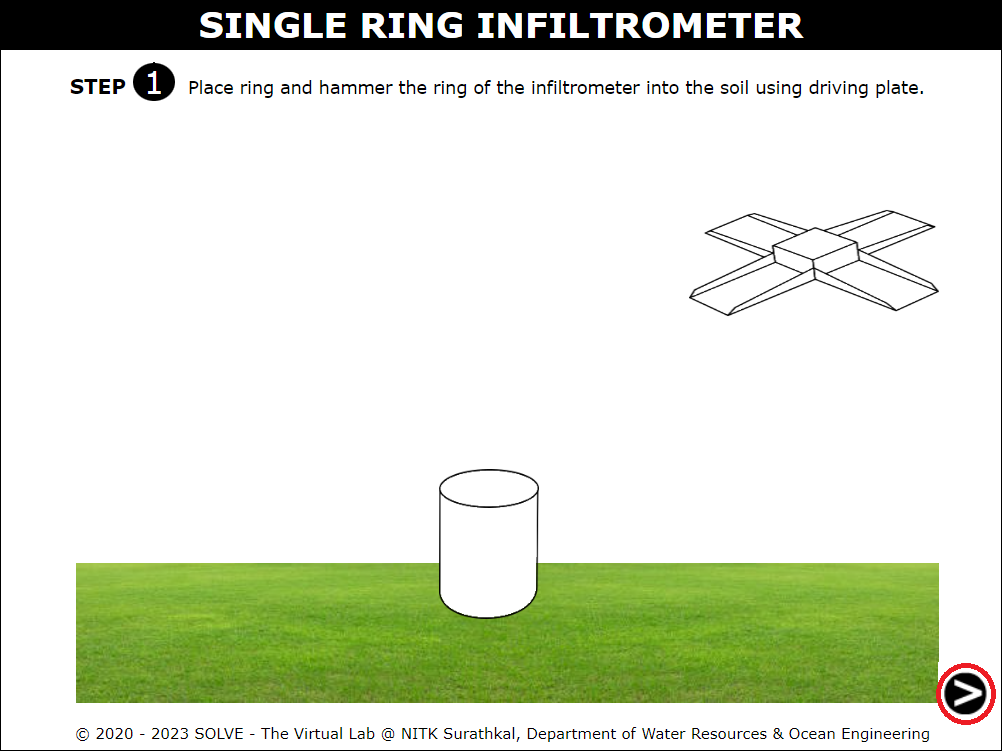
Click on the plate to place it onto the water level indicator.
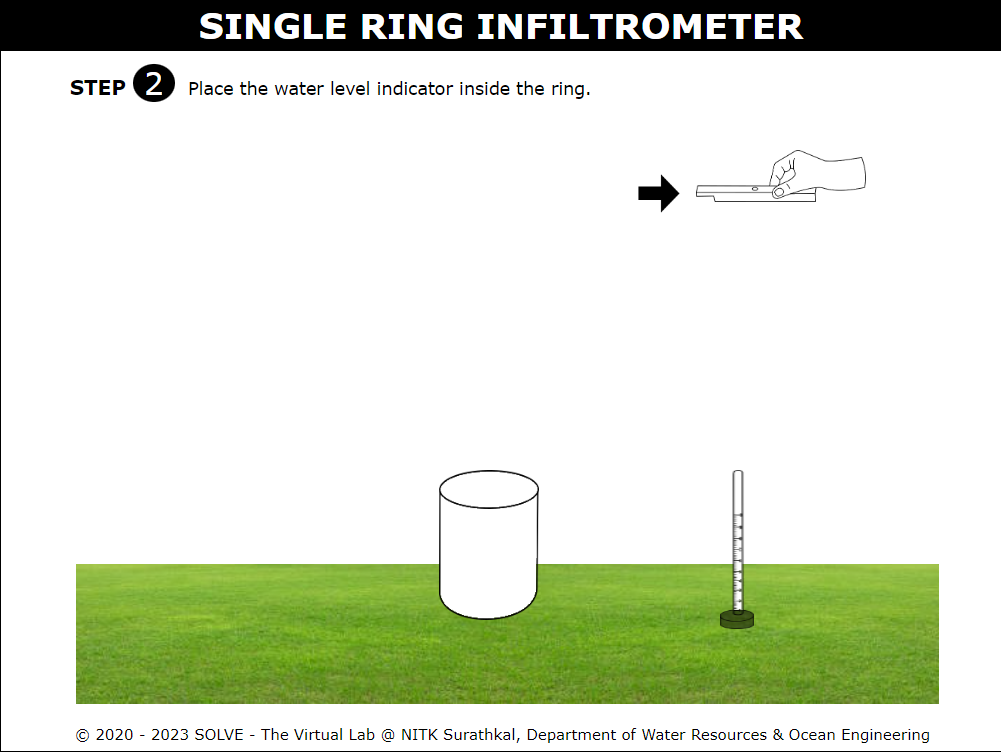
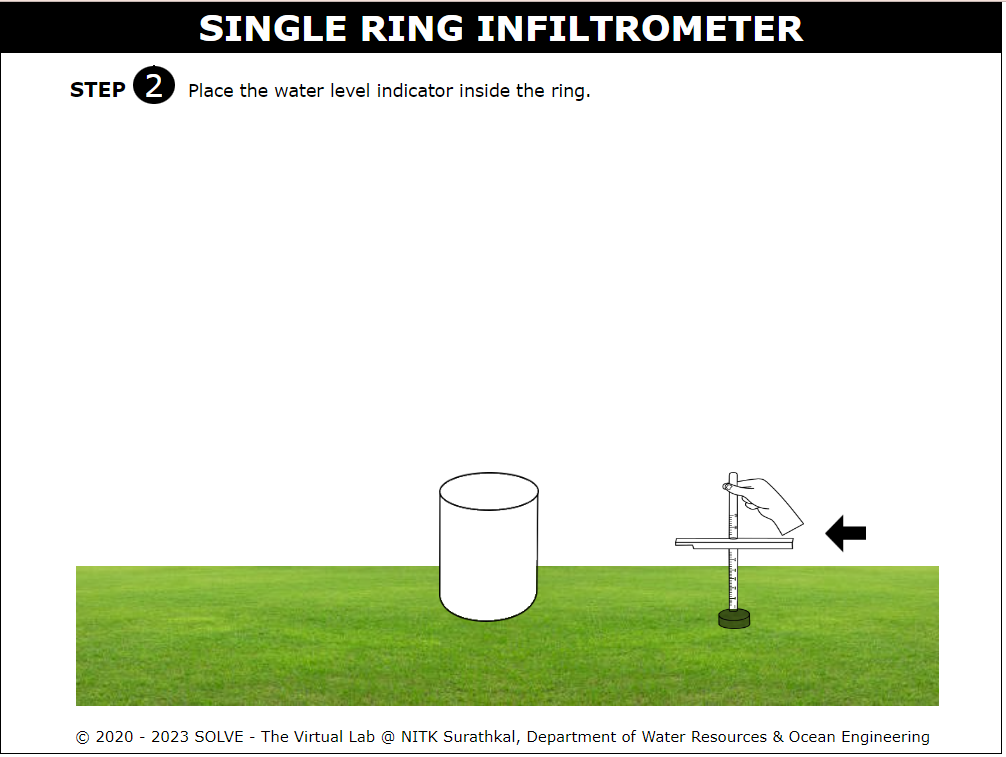
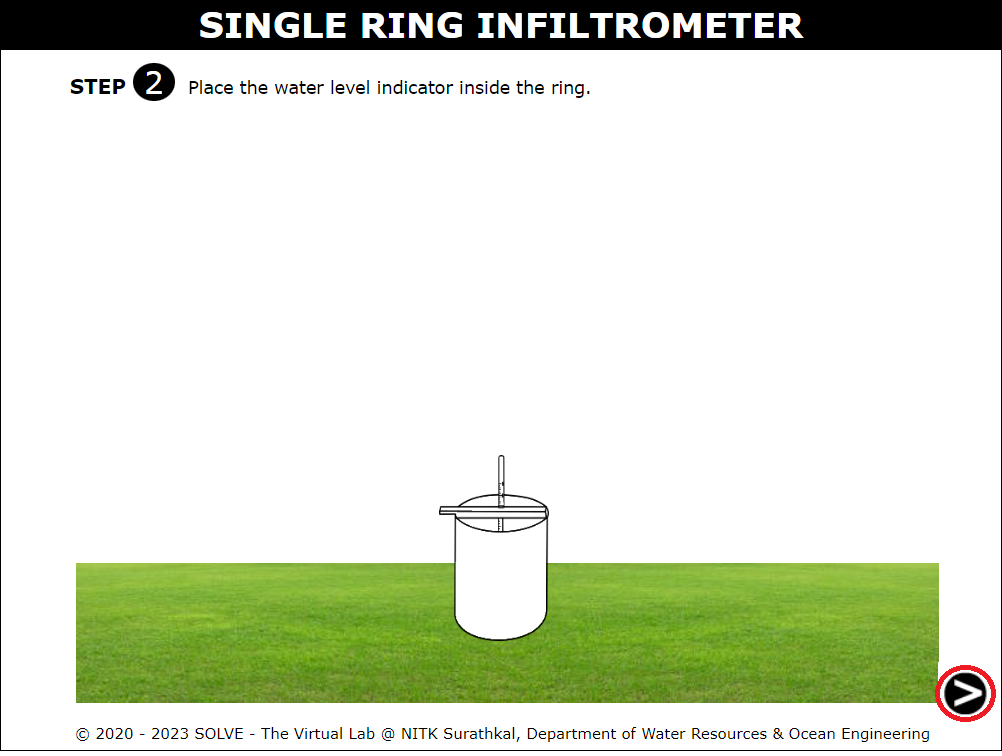
Click on the water level indicator to position it at the center of the cylindrical ring infiltrometer.
Click on the arrow at the bottom-right corner to proceed.
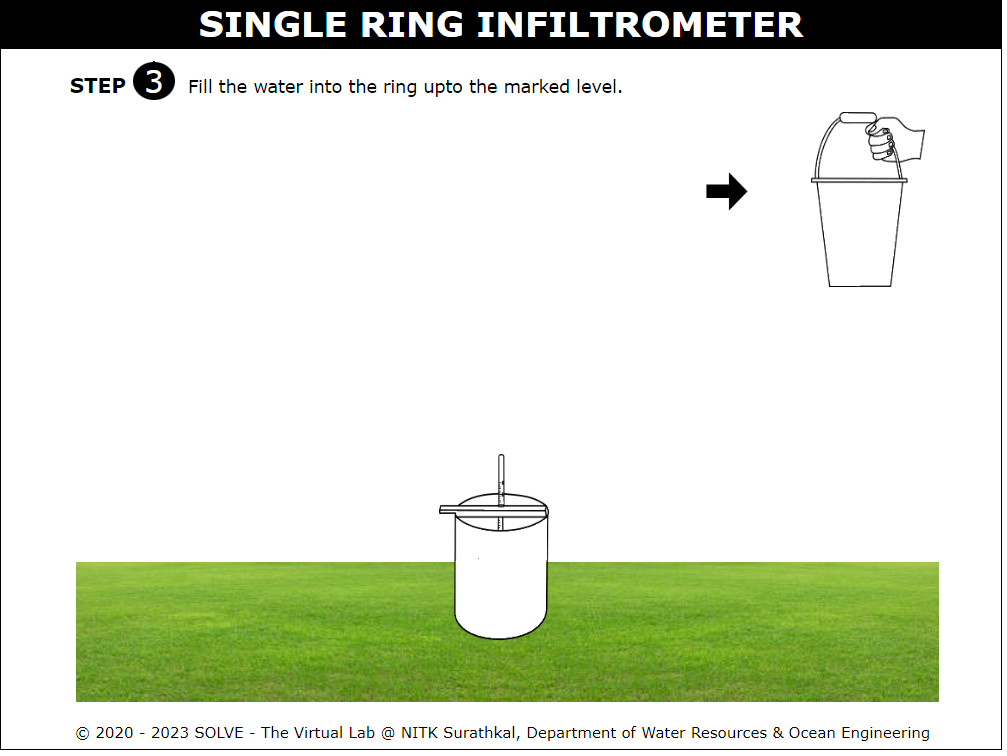
Click on the bucket to pour water into the ring. Care should be taken not to disturb the soil surface.
Answer the pop-up question by selecting the correct option.
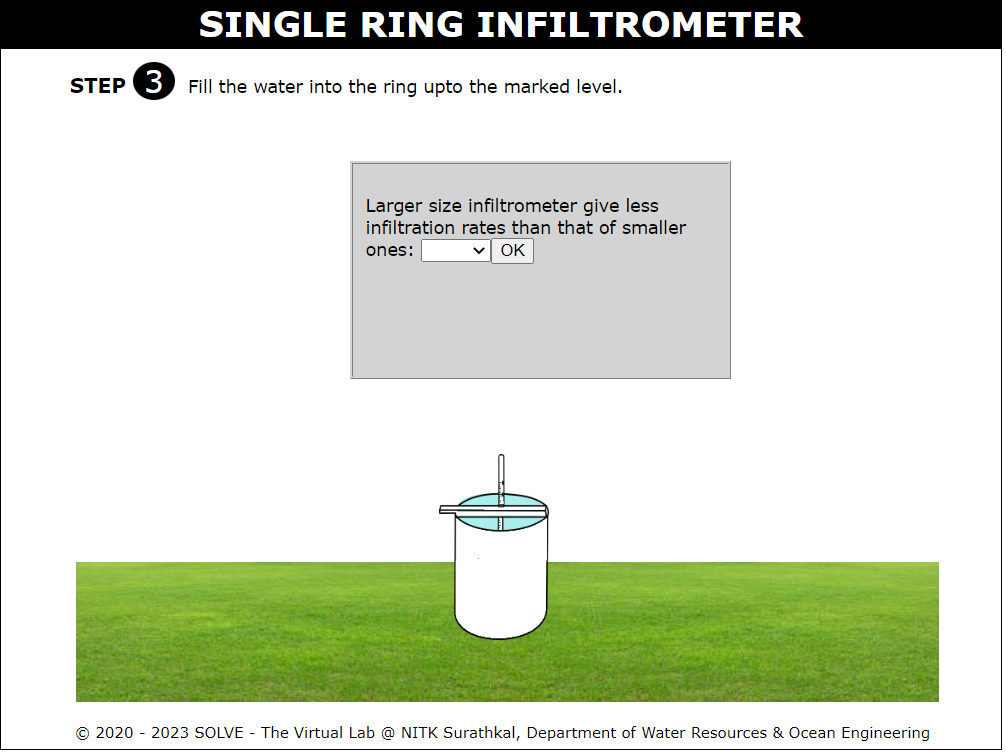
Click on the arrow at the bottom-right corner to proceed.
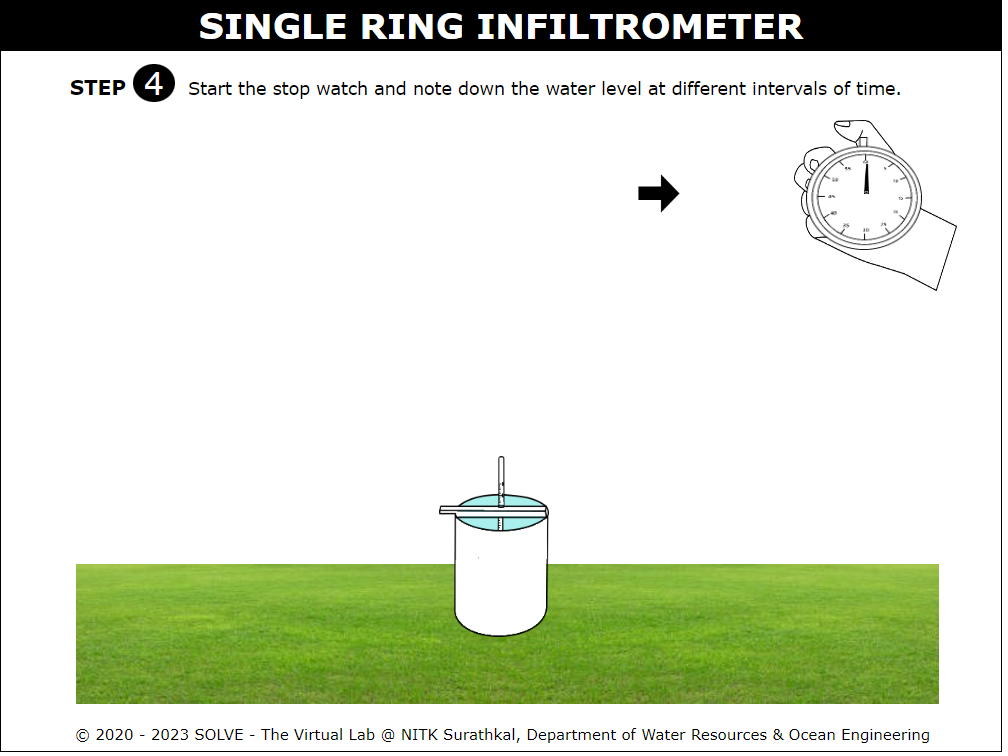
Click on the stopwatch to start the timer. Water begins to infiltrate into the soil.
Record the readings from the observation table and click the arrow at the bottom-right corner to continue.
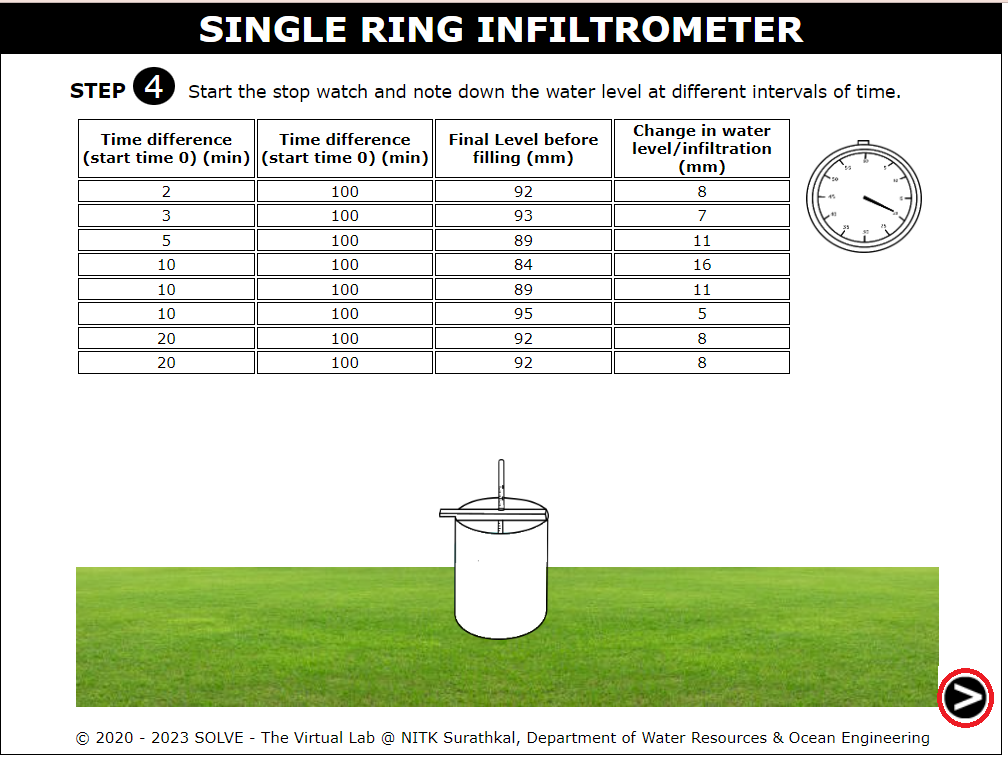
Using the observations and the given equations, calculate the infiltration rate and cumulative infiltration. Enter the values in the table and click on the CHECK button to verify the results.
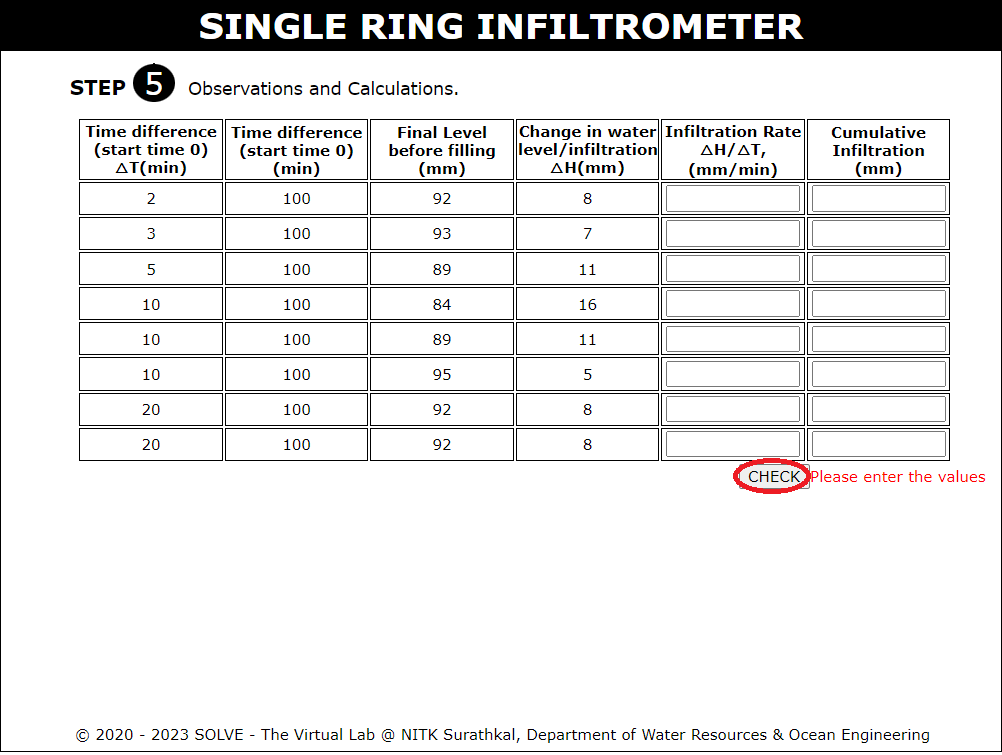
Enter the average and accumulated infiltration depth values, then click on the CHECK button. Verify the results by clicking on the RESULTS button.
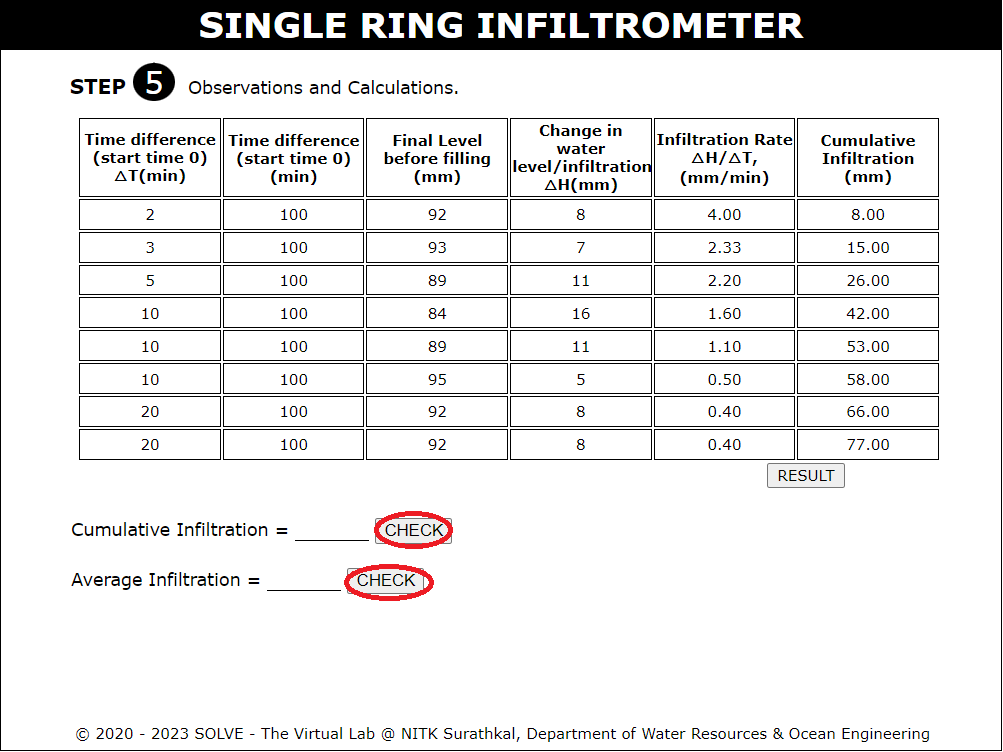
Finally, read the inference of the experiment. Reload the page to repeat the experiment by selecting a different ring size.